As a carpenter, you understand that participating in wood parts can easily be fairly tricky, especially if you want to produce a smooth and strong structure. Having said that, with the best devices and techniques, you may quickly join two or additional pieces of timber without weakening on appearance or toughness. One such device that has obtained huge level of popularity in recent years is the wallet hole jig.
A pocket hole jig is a tiny gadget that develops tilted gaps in wood, enabling you to join two parts at an viewpoint utilizing screws. It's a basic however reliable technique to develop sturdy junctions without clamps or complex joinery procedures. In this guide, we'll take you via everything you require to know about using a wallet hole jig for woodworking.
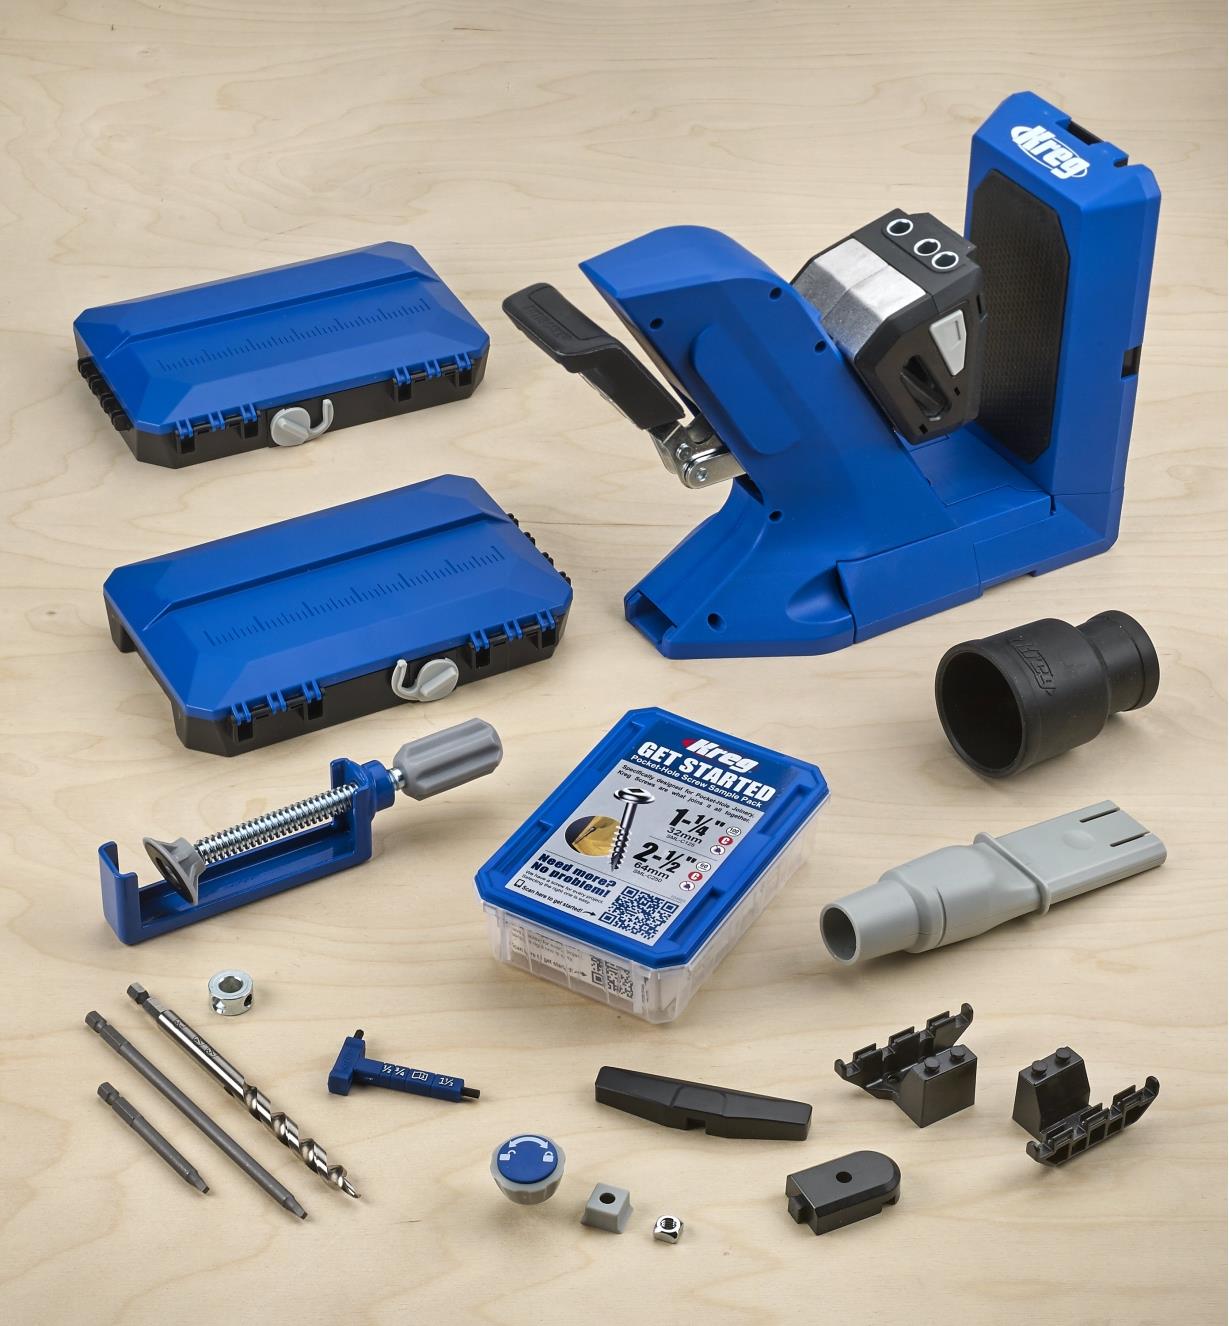
Action 1: Choosing the Right Pocket Hole Jig
Before we plunge into the method of making use of a wallet gap jig, it's necessary to choose the right one for your demands. There are actually various styles and sizes of wallet gap jigs available in the market today, varying coming from basic designs for hobbyists to high-end models for expert woodworkers.
When choosing a wallet hole jig, take into consideration elements such as its measurements and transportability (if you intend on moving it about), convenience of usage and flexibility (for specific exploration), and being compatible along with different screw sizes and styles.
Measure 2: Preparing Your Wood Pieces
Once you've chosen your preferred wallet gap jig style, it's time to ready your timber parts for exploration. Begin through marking where you really want your holes to be punched utilizing a pencil or marker. It's crucial to guarantee that the taggings are precise since they are going to calculate how effectively your joints fit together.
Next, brace your workpiece safely and securely onto your work bench or an additional steady surface just before drilling any type of holes. This action is crucial since it ensures that your workpiece doesn't relocate during exploration, resulting in misaligned gaps or wrecked edges.
Step 3: Specifying Up Your Pocket Hole Jig
After preparing your wood pieces, it's opportunity to prepared up your pocket hole jig. This step entails changing the practice little bit and collar intensity to match the density of your lumber parts.
Many wallet hole jigs happen with a depth chart that assists you figure out the necessary dog collar collection for different hardwood thicknesses. Once you've prepared the collar deepness, insert the exercise bit into the quick guide bushing and secure it securely.
Step 4: Drilling Your Wallet Holes
With your pocket hole jig prepared up correctly, it's time to start drilling your openings. Place the jig on best of your workpiece, lining up it along with your pencil markings.
More In-Depth that the clamp is firmed up safely before drilling.
To bore a pocket gap, press down on the practice securely while storing onto both handles of the jig. Practice until you hit the desired depth or until you hear a clicking on sound (for jigs along with built-in cease dog collars). Repeat this method for all other gaps required.
Step 5: Putting together Your Wood Pieces
Once you've pierced all required openings in each parts of lumber, it's time to construct them using screws. Use some adhesive or adhesive onto one of the buddy areas just before joining them with each other utilizing screws placed right into each of the wallet gaps.
When screwing in to a pocket gap junction, guarantee that you store both items of lumber together firmly to protect against any action or imbalance during the course of screwing. It's additionally important to use screws that are suitable for your project and suitable with your decided on pocket gap jig model.
Conclusion
Using a pocket hole jig is a straightforward yet unbelievably reliable method to join two or more items of lumber at an viewpoint without risking their aesthetic appeal or strength. Through following our ultimate manual above, you can easily effortlessly create smooth and tough joints in no opportunity using this functional tool. Bear in mind always to choose a high-quality model suited for your demands and certainly never jeopardize on security through ensuring that all clamps are safely and securely firmed up before boring.
UNDER MAINTENANCE